
On this page
This guide walks you through downloading, installing, and setting up the Reolink mobile app on your smartphone or tablet for remote viewing and management of your DVR security cameras.
Step 1: Download the Reolink Desktop Client
You can download the Reolink desktop software directly using the links below:
-
For Windows: Download Reolink Client for Windows
-
For Mac: Download Reolink Client for Mac
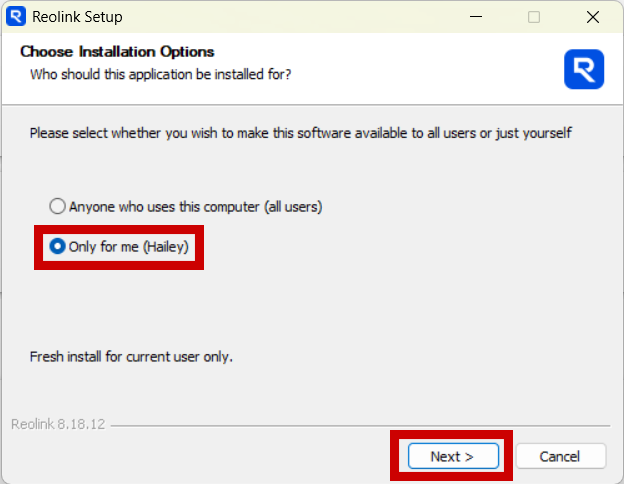
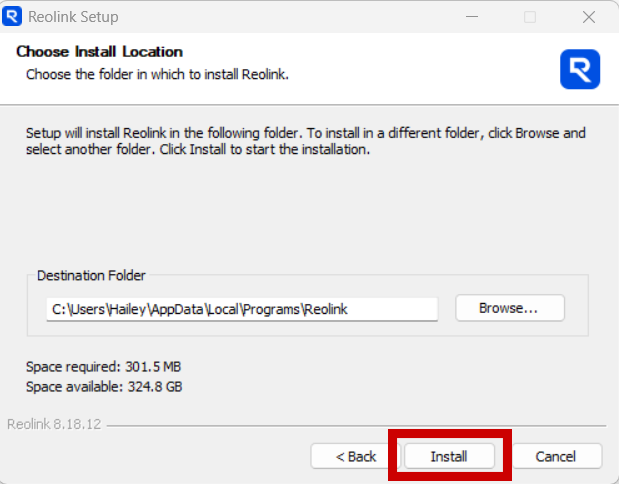
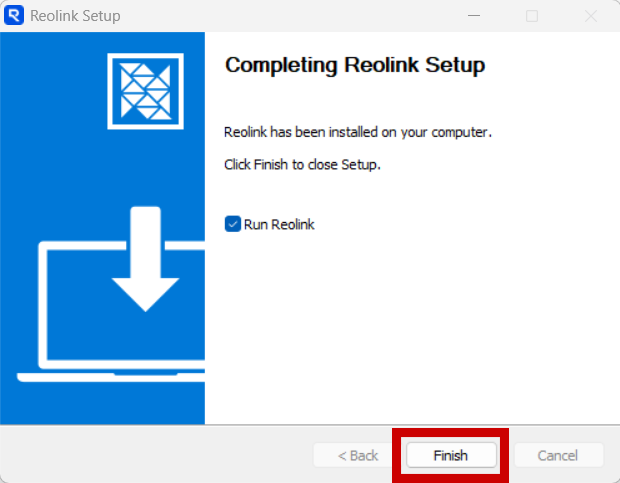
After downloading, locate the downloaded file on your computer and open it to begin installation:
-
On Windows: Find the
.exefile (likely in your Downloads folder), double-click it, and follow the on-screen prompts. -
On Mac: Find the
.dmgfile, double-click to open it, then drag the Reolink app icon into your Applications folder. Open the app from your Applications folder to begin.
Follow the on-screen instructions to complete installation.
Step 2: Launch the Application
After installation:
- Open the Reolink Client application on your desktop.

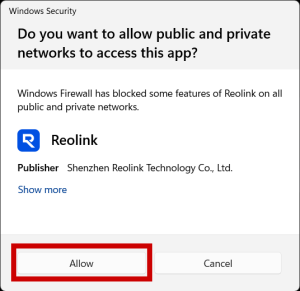
2. You may be prompted to allow firewall access—choose Allow Access to ensure the application can connect to your cameras.
Step 3: Add Your DVR Device
To connect to your DVR system:
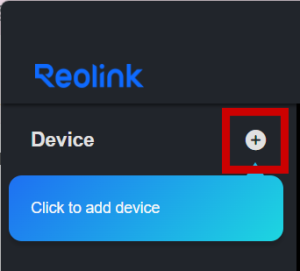
- Click “Device Settings” or the + Add Device icon.
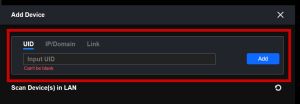
2. Choose UID as the connection type.
3. Enter the UID number provided with your DVR system.
Note: The UID is a unique code linked to your DVR, often found on the device or in your setup documentation.
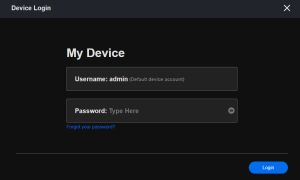
4. Enter the username and password supplied to you.
5. Click Login or Add to connect the device.
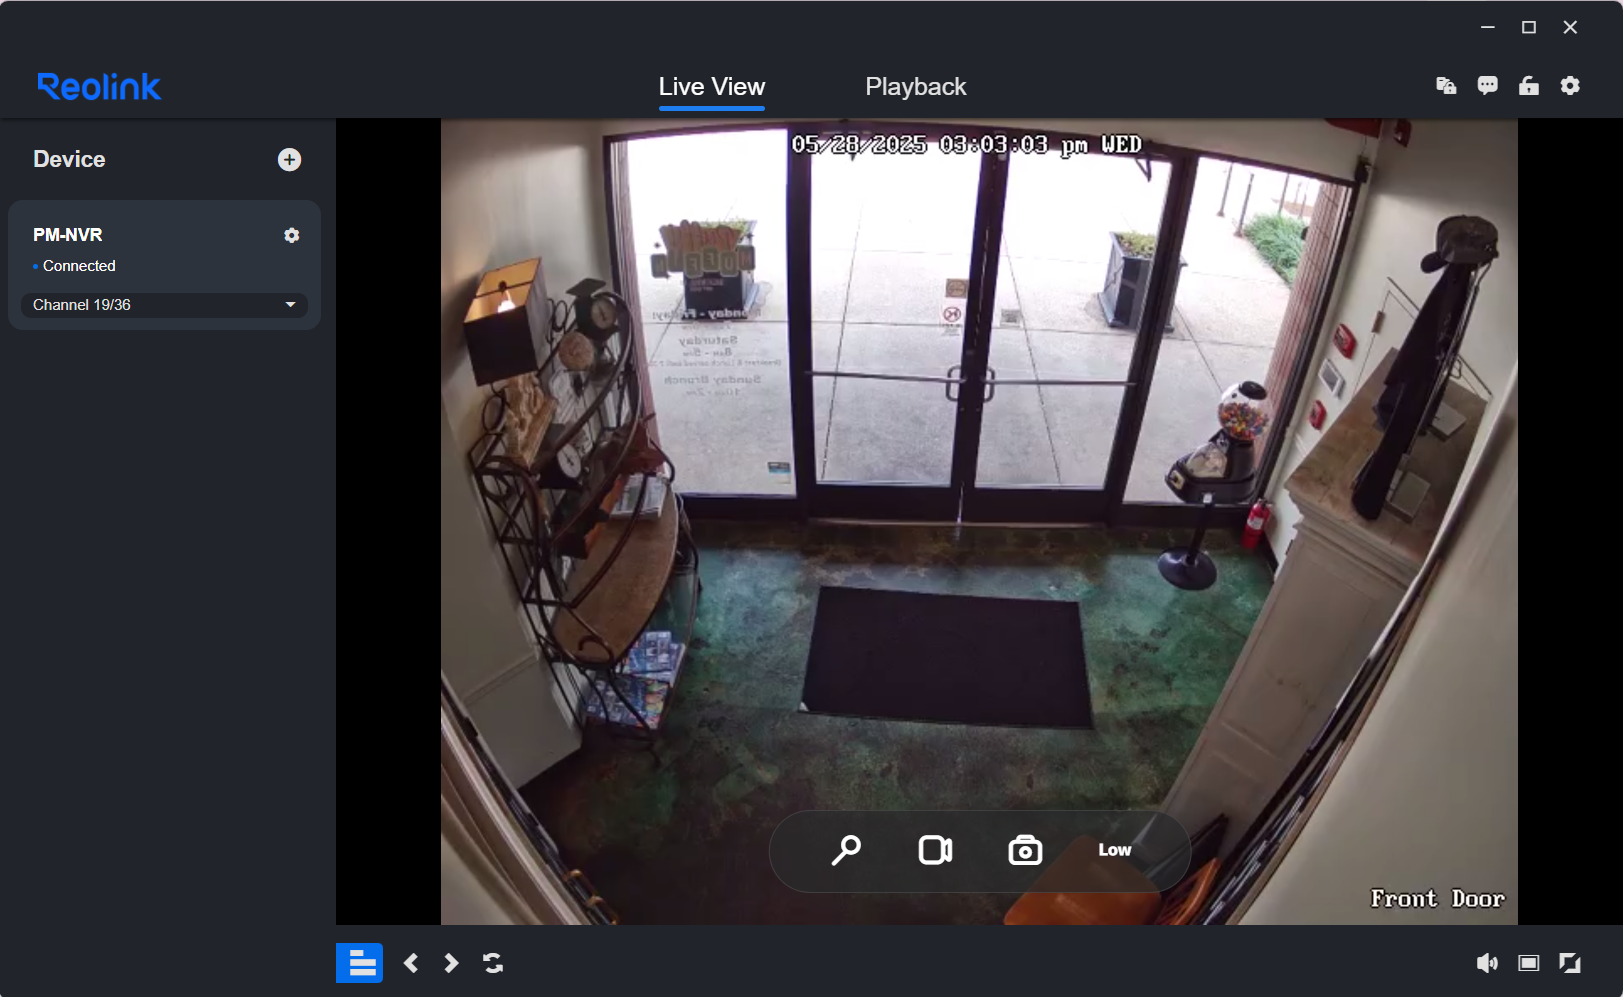
Step 4: Viewing Your Cameras
Once connected:
-
Live View: Click the camera thumbnails to view live footage.
-
Multi-Camera View: Select multiple cameras to view in a grid layout.
-
Full Screen: Double-click a camera feed to expand to full screen.
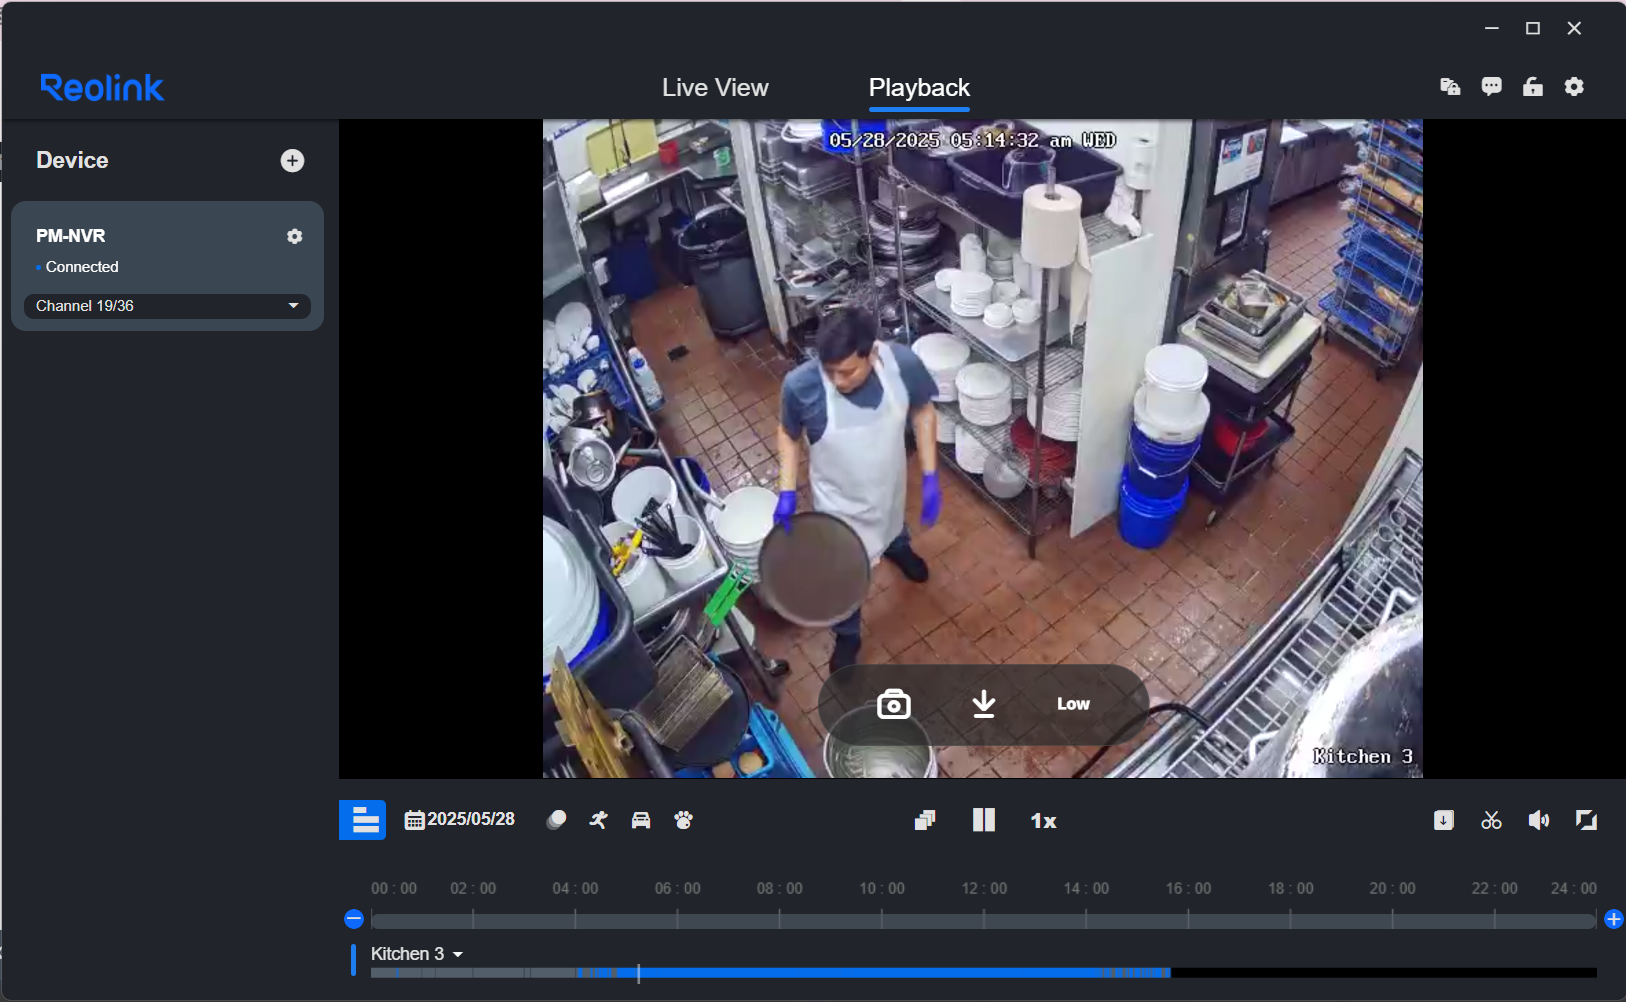
Step 5: Playback & Recordings
- Click the Playback tab to view recorded footage.
- Select the device, date, and camera, then press Search.
- Use the timeline or playback controls to review footage.
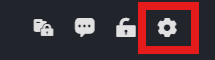
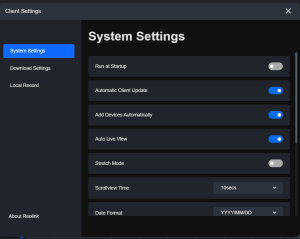
Step 6: Settings and Notifications
-
Use the Settings tab to adjust motion detection, recording schedules, and email alerts.
-
You can also configure user access and export video clips.
Tips for Best Performance
-
Ensure your computer is connected to a stable internet connection.
-
Keep your client software updated for the latest features and security.
-
Back up important video clips to an external drive or cloud storage.
Need Help?
If you need assistance with installation or setup, please contact your system installer or technical support team for help.