3CX Guide Directory
How to Perform Actions Within a Call
3CX Video Conferences
How to Start a Video Conference
1. Create Meetings & View Scheduled Meetings
1.1. How to Create a Meeting While in a Meeting
1.2. How to View Scheduled Conferences
2. View Meeting Length & Invite Participants to an Active Meeting
2.1. How to View Meeting Length
KeylinkIT
3CX Softphone Systems
In the dynamic world of modern communication technology, 3CX offers two distinct yet complementary solutions tailored to enhance user experience and streamline communication processes. The 3CX Windows Softphone App, a dedicated application for Microsoft Windows, provides a seamless and integrated telephony experience for Windows users, capitalizing on the robust features and familiar environment of the operating system. Meanwhile, the 3CX Web Client stands as a versatile, browser-based interface that offers a flexible and accessible solution for managing communications across various platforms. Whether you’re at your desk using the Windows Softphone App or on the go accessing the Web Client, 3CX ensures that efficient, comprehensive communication tools are at your fingertips, facilitating everything from call management and video conferencing to real-time chat and status updates.
KeylinkIT
How to Use 3CX Softphone Systems
- A native application for Microsoft Windows, accessible through the Windows Store.
- Installed via the Windows Store. It requires downloading and installation on a Windows machine.
- Provisioned through the 3CX Web Client, with a focus on integration with the Windows ecosystem.
- Emphasizes native Windows integration, with features like automatic configuration and Windows Defender prompts.
- Tailored for the Windows user experience, likely more integrated with the OS interface.
- A browser-based application, accessible from any compatible web browser.
- Can be easily set up as a Progressive Web App (PWA) in browsers like Chrome and Edge.
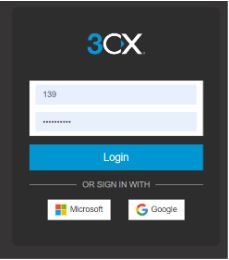
- Offers multiple login options including SSO with Google or Microsoft accounts, and regular email/extension login.
- Enhanced accessibility with chat features and multiple communication channel management.
- Browser-based interface, adaptable to various screen sizes and operating systems.
Login Process
- To access your 3CX account, refer to the “Welcome to 3CX | Your Account Details” email.
- If your administrator has enabled SSO for Google or Microsoft, utilize your Google or Microsoft credentials.
- Otherwise, follow the link mentioned in Step 1, labeled “Set your password,” to set up your unique password.
- Once your password is set, log in using your email address and the newly created password.
Guide to Using 3CX Web Client
1. Install the Web Client as a PWA (Progressive Web App)

If you haven’t installed any client yet, look for the OS icon located below the user avatar. You will first need to be logged into your 3CX account in a web browser.
- Click on the OS icon, and a new dialog will open.
- Select Web App (PWA) from the options provided.
- Click the Install button to proceed with the installation.
Once completed, the Web Client will function like a native app, offering a more seamless and enhanced user experience.
How to Set the Web Client App to Auto-Start
For Google Chrome:
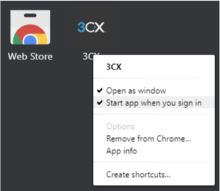
- Launch your Chrome browser and enter ‘chrome://apps’ in the address bar.
- Locate “3CX” in the list of apps and right-click on it.
- From the context menu, select “Enable Start app when you sign in.”
For Microsoft Edge:
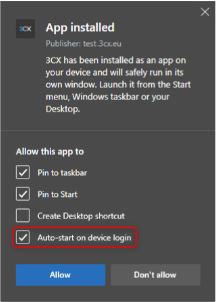
- After installing the app on Edge, a dialog will appear.
- Select the option to “Auto-start” the app from the dialog.
By following these steps, you can set the app to automatically start when you sign in to your browser, ensuring quick and convenient access.
How to Set up Click2Call Browser Extension
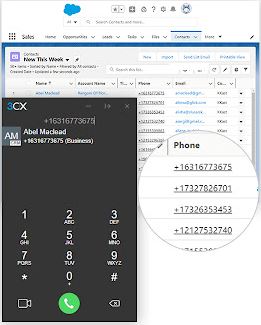
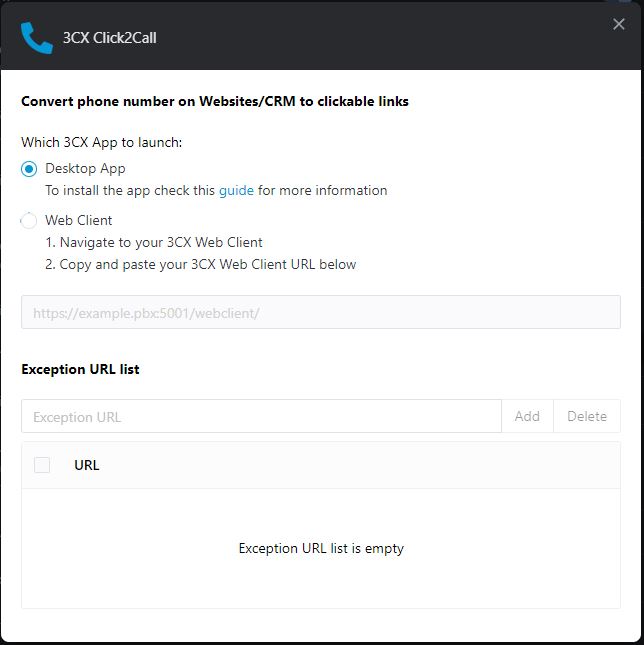
Once the extension is installed, you can access the Configuration Settings. Here, you have the option to choose between the Desktop App and the Web Client for placing calls by default through the browser extension. Additionally, you can customize the extension by specifying particular website URLs where numbers should not be hyperlinked. For instance, you can exclude a website with accounting information to prevent clickable numbers from appearing.
By leveraging the 3CX Click2Call Browser extensions, you can streamline your calling process and enhance your overall productivity.

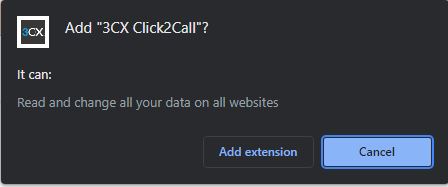
Note: If selecting the Web Client then follow the instructions shown in the window which wants you to add your Web Client URL.
How to Set Up Voicemail
2. Enter option 8 to change your greeting message.
3. Select option 0.
4. Record the message then press #.
5. To save the message, select 0.
How to Download and Use 3CX Windows App
How to Install the 3CX Windows App
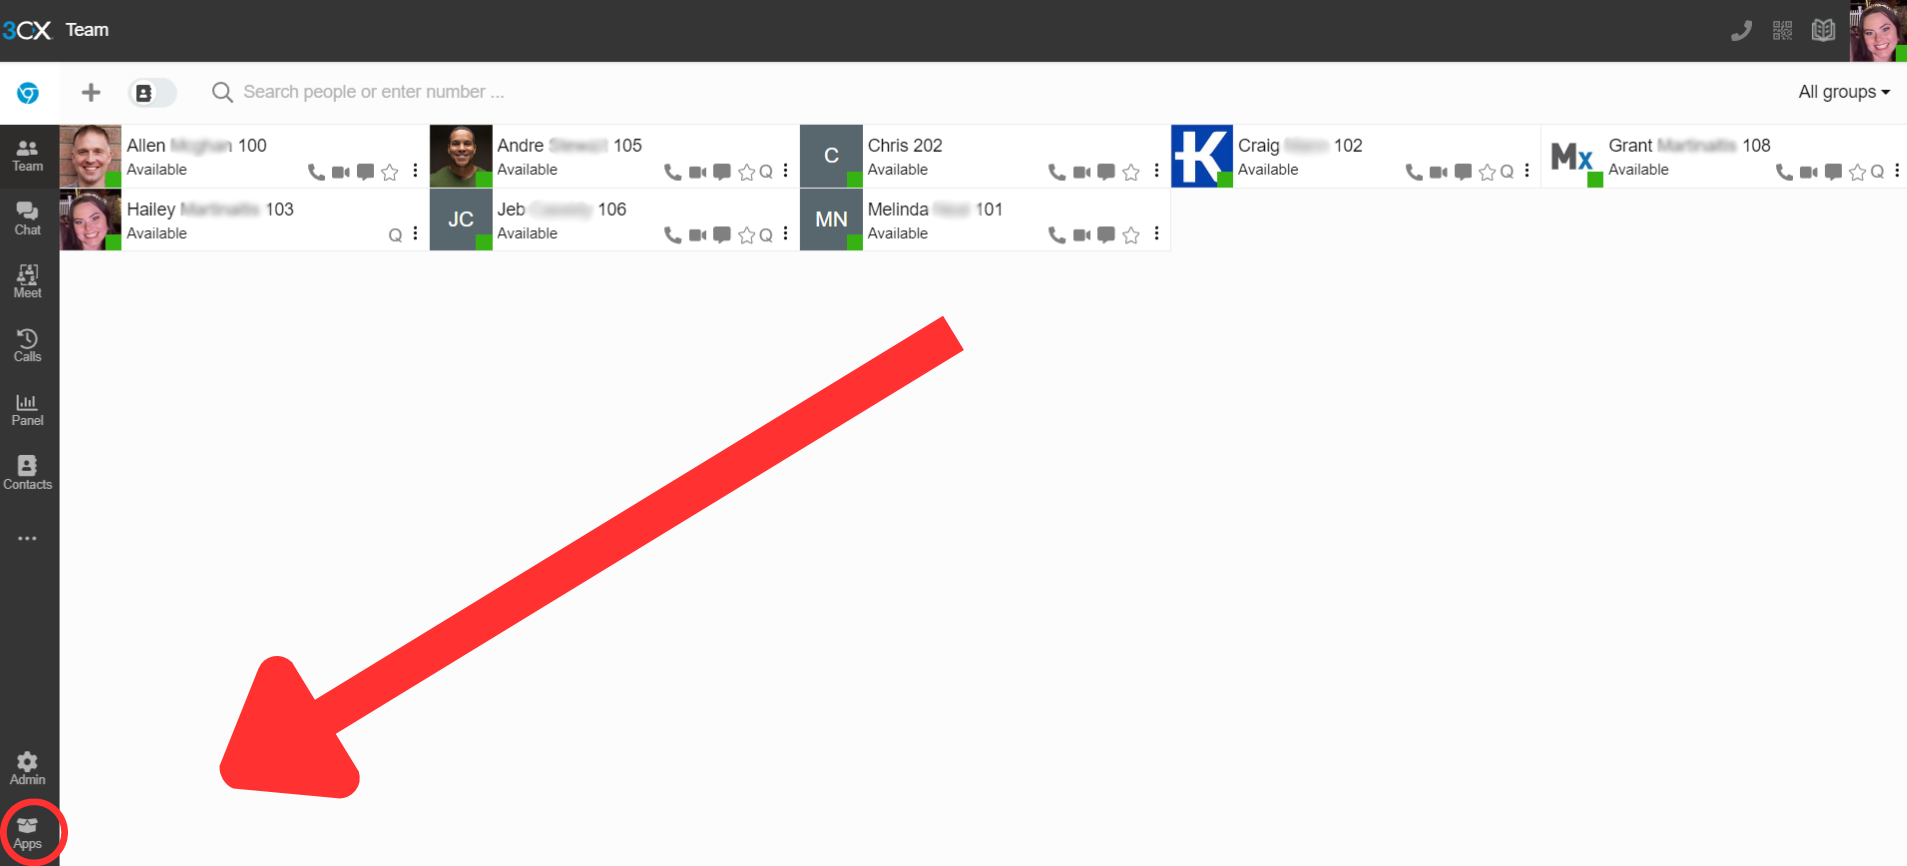
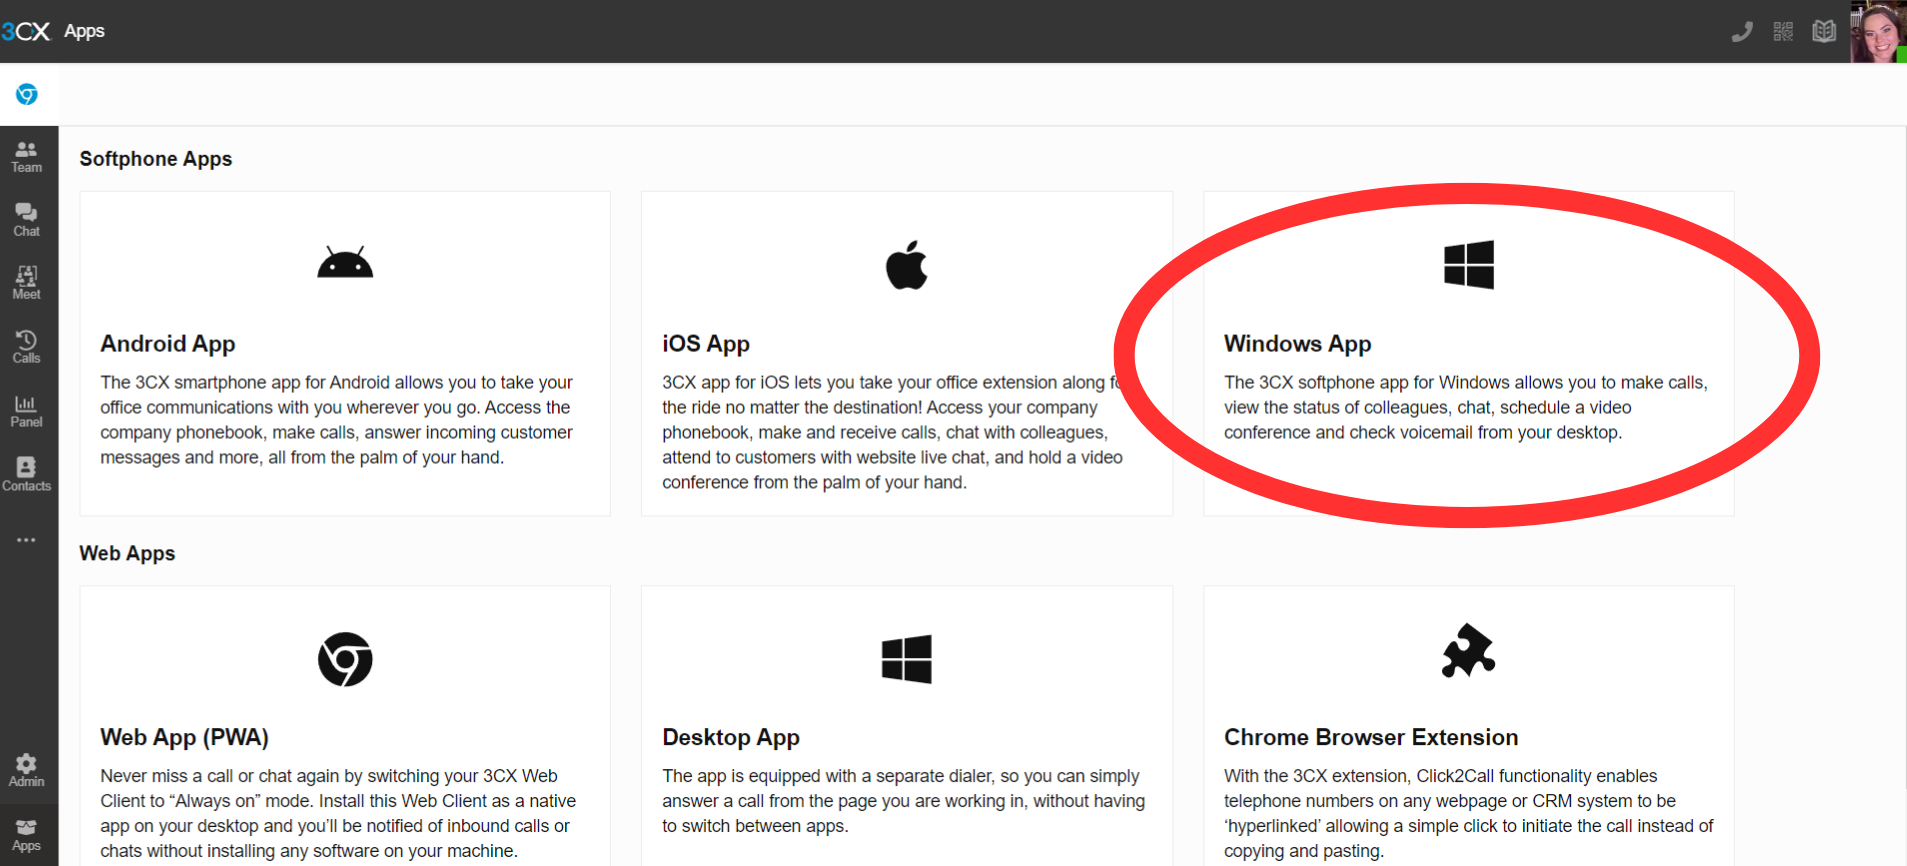
1. Login to your 3CX account in a browser window and navigate to the bottom left.
2. Select Apps.
3. Select Windows App.
4. Select Install.
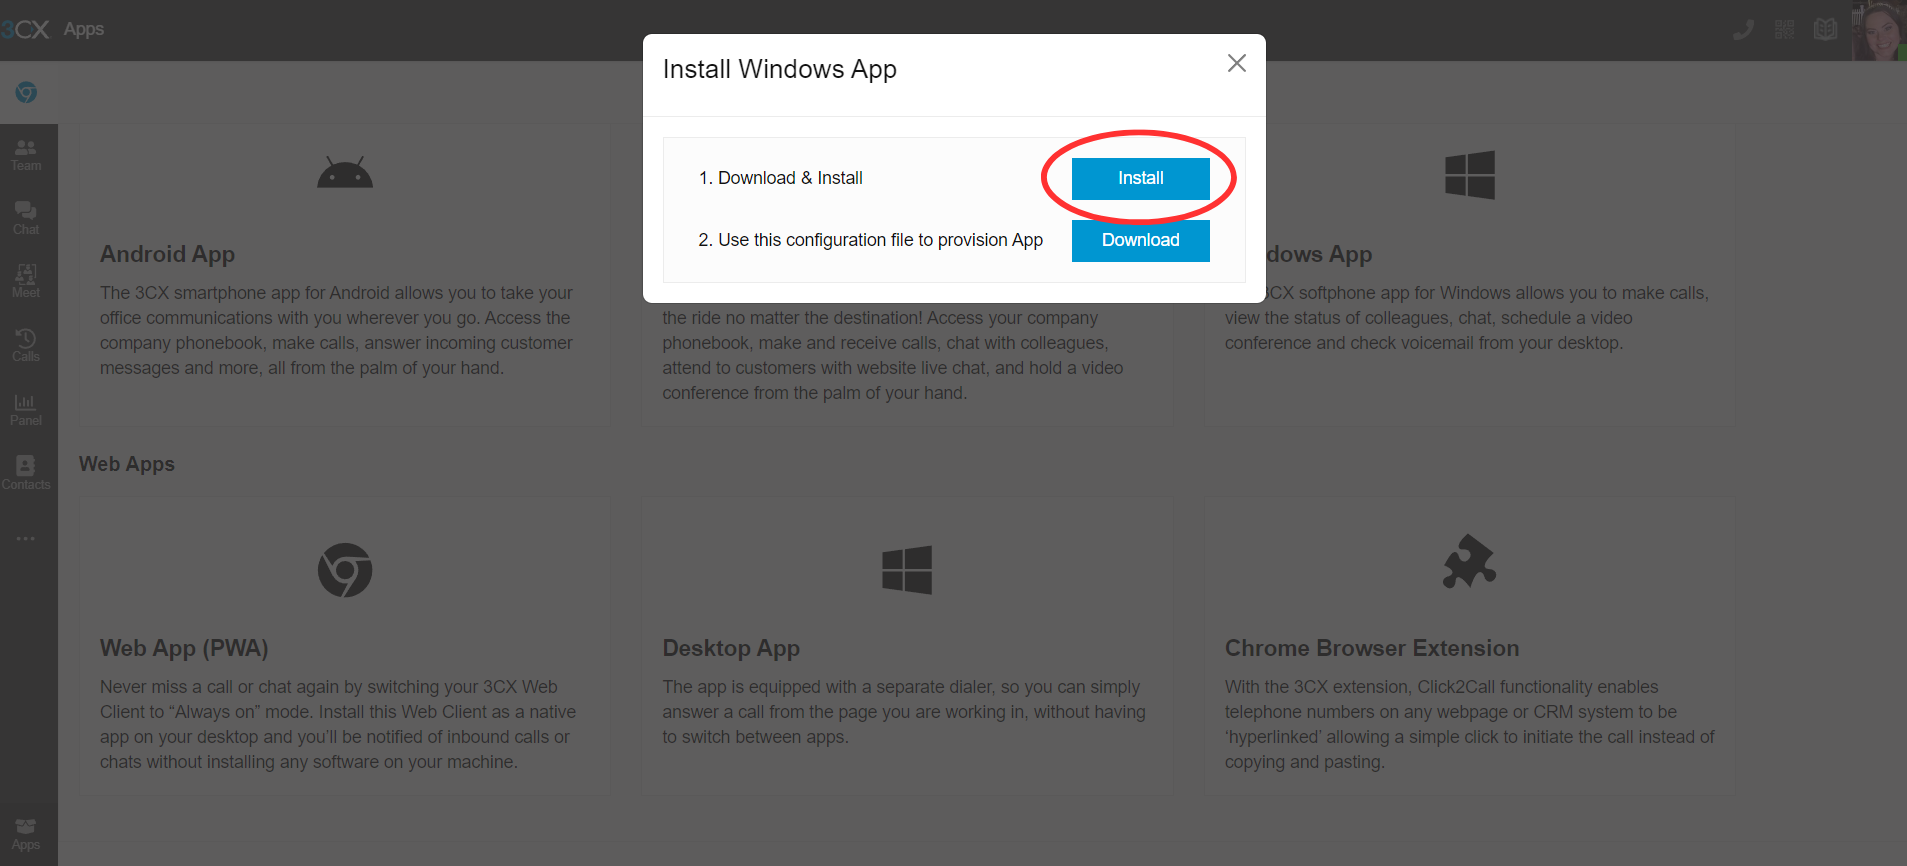
5. Once the download has finished loading, open the file.
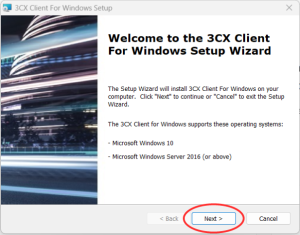
6. You will now be looking at the Setup Wizard. Select Next.
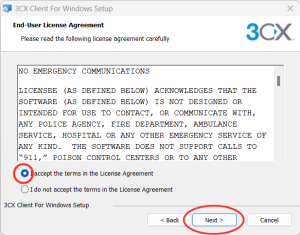
7. In the End-User License Agreement Window, check “I accept the terms int he License Agreement. Then select Next.
8. In the Select Installation Folder Window, select Next.
9. In the Ready to Install Window, select Install.
10. Select Finish.
The 3CX Windows Client is now installed and will instantly launch.
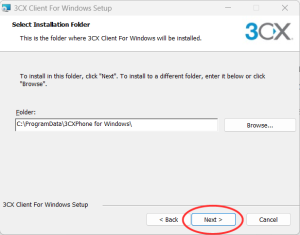
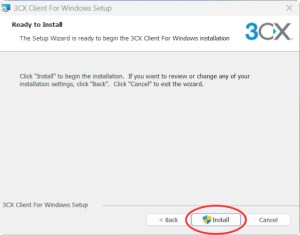
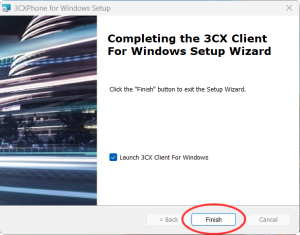
How to Use the 3CX Windows App
Choose Between PC Phone or Deskphone
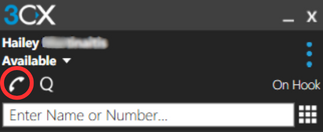
Within the app, you can choose between ‘Softphone’ and ‘CTI’ mode, each offering a distinct way of handling calls. The phone selector, found beneath your name and status, lets you easily switch between these modes:
Softphone Mode:
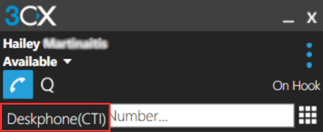
This mode enables you to use your PC or laptop for making and receiving calls, bypassing the need for a physical desk phone.
CTI Mode (Computer Telephony Integration):
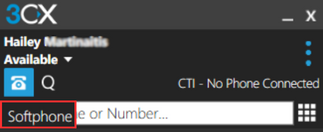
In this mode, you control your physical desk phone through the app, allowing calls to be made and received on the desk phone.”
Status Management
The status feature efficiently communicates your availability to colleagues and lets you see who is available to take calls.
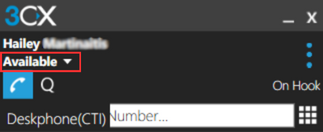
Easily select your status by clicking the status selector with the down arrow under your name.
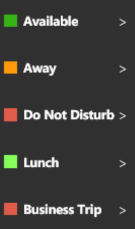
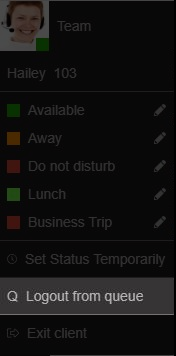
Easily select your status by clicking the status selector under your name. Choose from options like Available, Away, Do Not Disturb, Lunch, or Business Trip. For a personalized touch, click the arrow next to your status to add a custom message and adjust your call forwarding settings.
Guide to Using 3CX Windows Softphone App
How to Make Calls Using 3CX
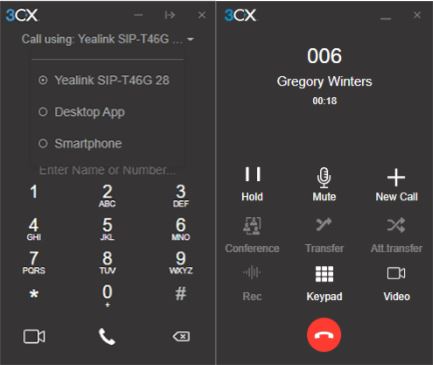
- Access the dial pad located in the top right menu or click on the search icon.
- Enter the phone number directly or search by name, extension number, or email address.
- Choose your preferred device for making the call. Whether it’s your IP phone, the iOS or Android app, Web Client, or Desktop App, you can seamlessly place calls from any provisioned extension. You have the flexibility to control calls from the Web Client interface by selecting your desired device from the phone selector in the dialer.
- To begin the call, simply click the handset icon.
With these straightforward steps, you can easily make calls through our system using your preferred device, enhancing your communication experience.
How to Perform Actions Within a Call
Blind Transfer
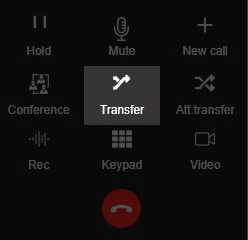
- To perform a blind transfer, click on Transfer and enter the name or number of the intended recipient. The call is transferred directly without your involvement.
Attended Transfer
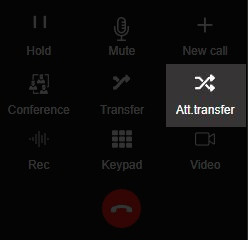
- For an attended transfer (speaking to the recipient before transferring), click Att.transfer. This allows you to put the caller on hold, speak with the recipient, and then pass the call through.
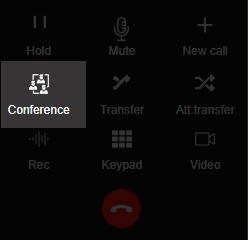
- Simply click the Conference button and input the name or number of the participants you wish to add to the call. They will be dialed, and upon answering, they will join the ongoing call.
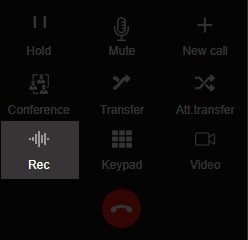
- At any point during a call, you have the option to record the conversation. Click Record to start and click again to end the recording. You can access the recorded calls in the Web Client under Recordings (if you have the necessary permissions).
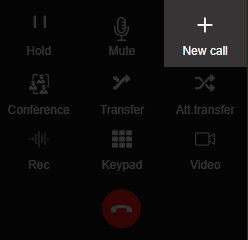
- You can start a new call on a separate line without disconnecting the current call. Click New Call and enter the name or number of the callee.
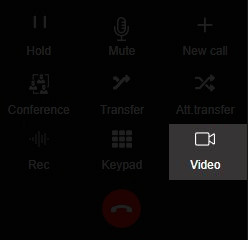
- To elevate the call to a video call, click the Video icon in the dial pad. This action allows you to switch to a video call without ending the current call.
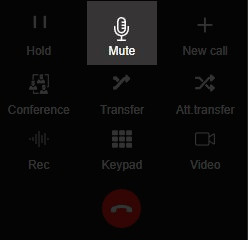
- To mute youself during a phone call, simply click the Mute button. To unmute, click the Mute button again.
- To place the call on hold, select the Hold button and the call will go on hold and the caller will hear a hold tone being played. To resume the call, click the Hold button again.
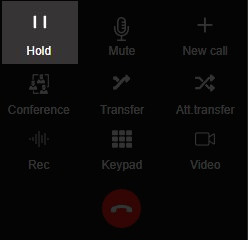
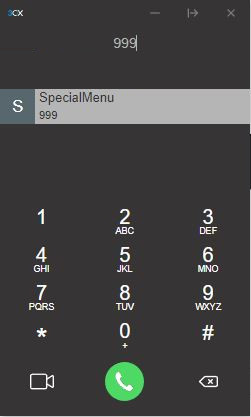
- To use the Keypad during a call (such as to navigate a directory) select the Keypad button and the keypad will appear.

How to Manage Status and Queues

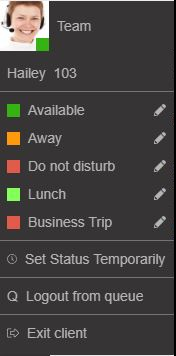
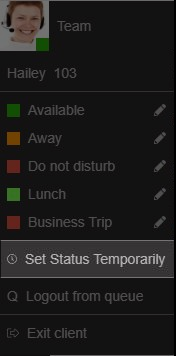
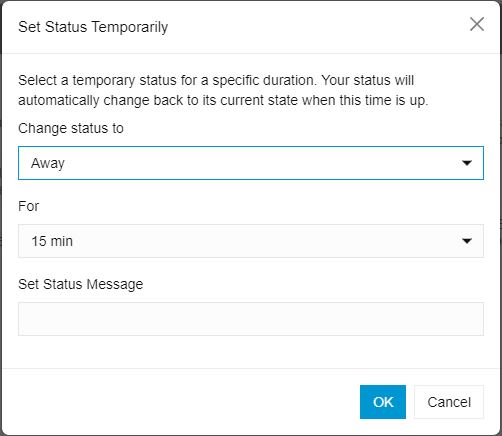
- To indicate your availability for calls, click your avatar in the top left corner and select from the options: Available, Away, Do Not Disturb, Lunch, or Business Trip.

-
-
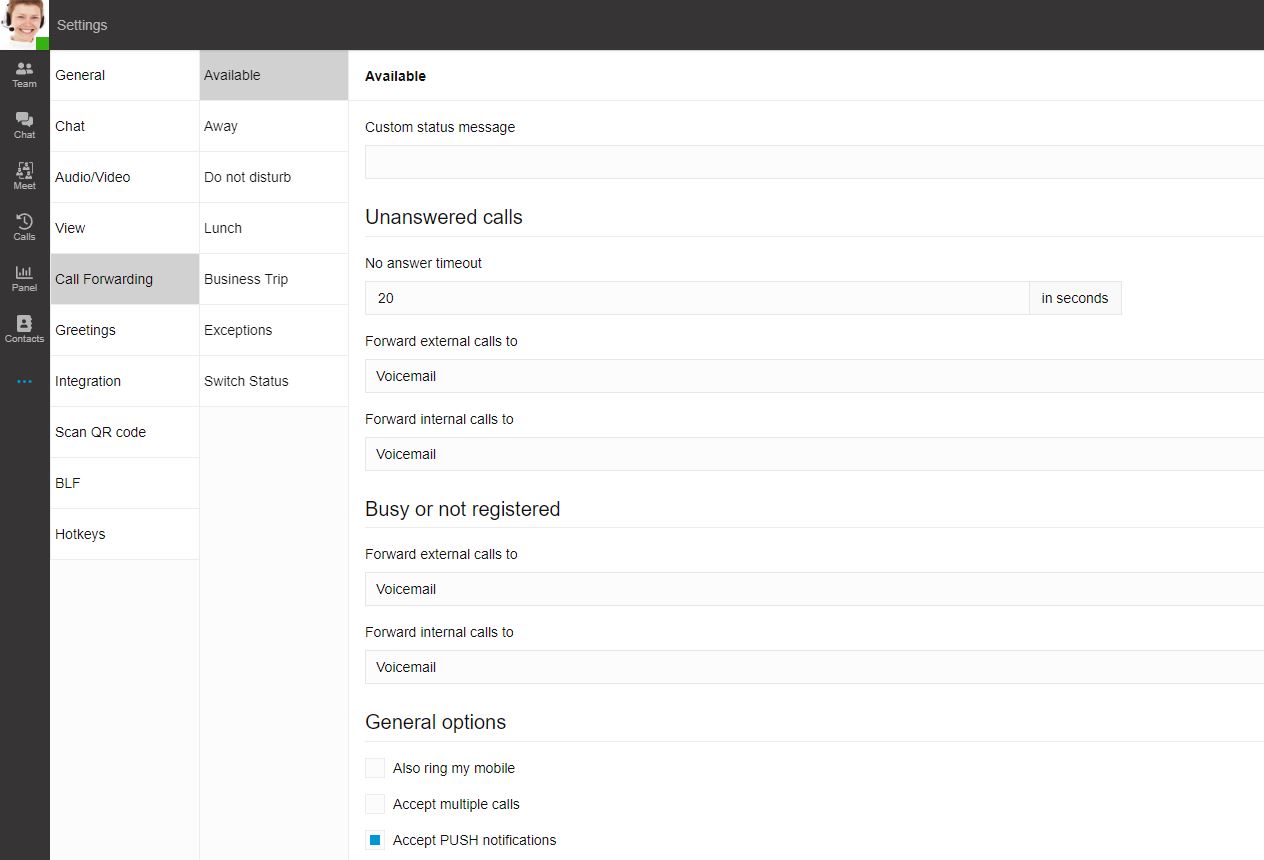
- Set a custom message
- Enable or disable Push notifications for each status
- Rename Lunch and Business Trip profiles
- Set the number of seconds to activate forwarding of unanswered calls for Available and Lunch profiles
- Choose to forward unanswered calls to options such as Voicemail, mobile, etc.
- Override forwarding rules based on Caller ID and time of the call
- Set specific office and break hours to suit your preferences.
-
By using the “Status” feature effectively, you can maintain a focused and efficient work environment while keeping your colleagues informed about your availability for calls.
How to Auto Switch Status for Your Working Hours
This functionality allows you to customize your extension’s status based on your preferred schedule. Your status will be automatically adjusted according to the specified hours, ensuring a seamless and tailored communication experience.
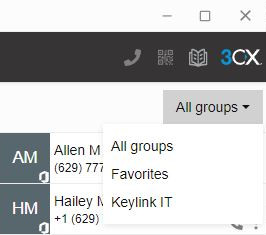
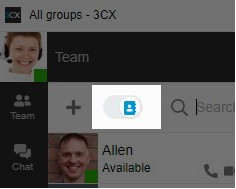
How to Edit your Team View
Additionally, the contacts toggle allows you to include your personal contacts in the same view. These contacts will appear after your team members, providing a comprehensive view of your contacts and making communication more efficient.
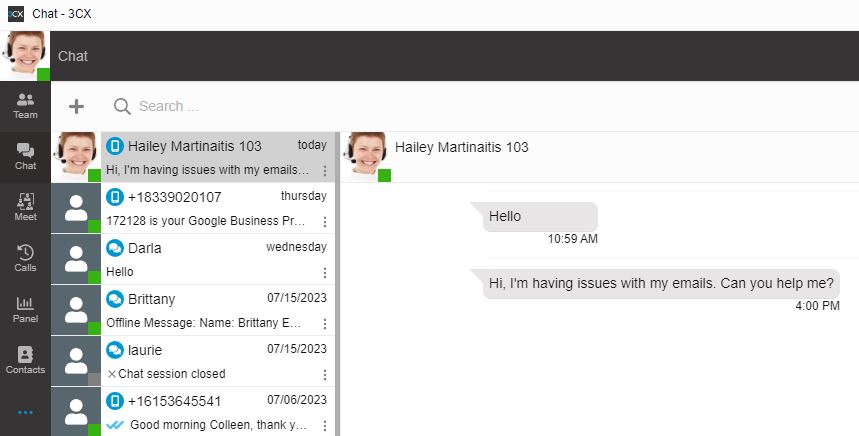
How to Chat with Colleagues and Customers
Group managers have the ability to create and modify quick response chat templates, enabling users to reply with pre-defined messages, thus enhancing response speed. These templates can be categorized and organized according to different categories and languages, ensuring efficient communication and faster customer support.
Start a Video Conference
How to Start a Video Conference
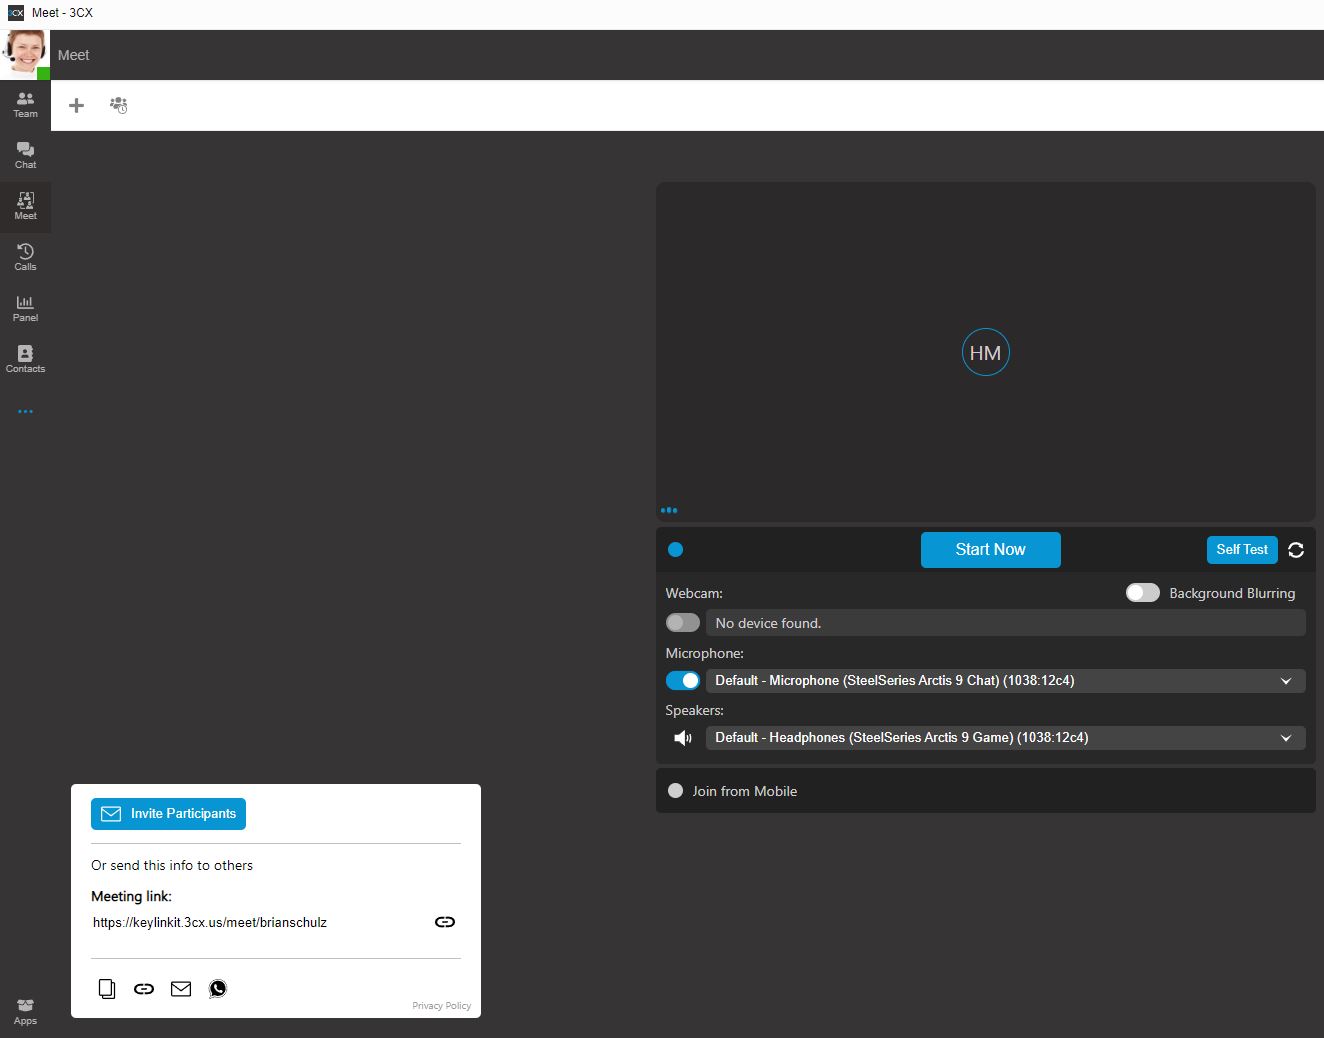
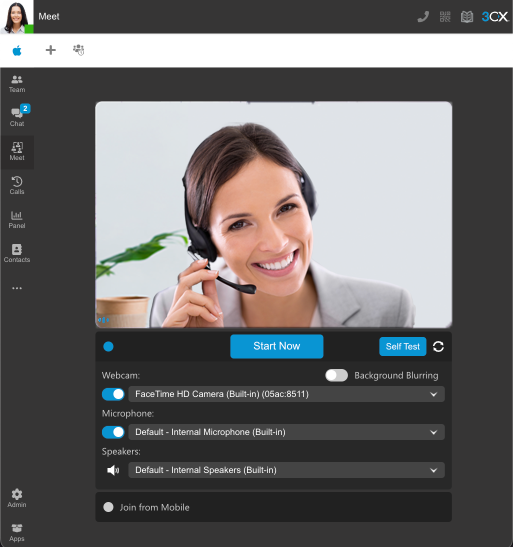
2. As soon as you are ready, hit the Start Now button.
- To include additional participants in the conference, just click the Add Participants
button located at the bottom left of the screen.
- Activate the Background Blurring option to blur your background during the conference.
- Participants can easily join the conference by opening the provided Meeting link.
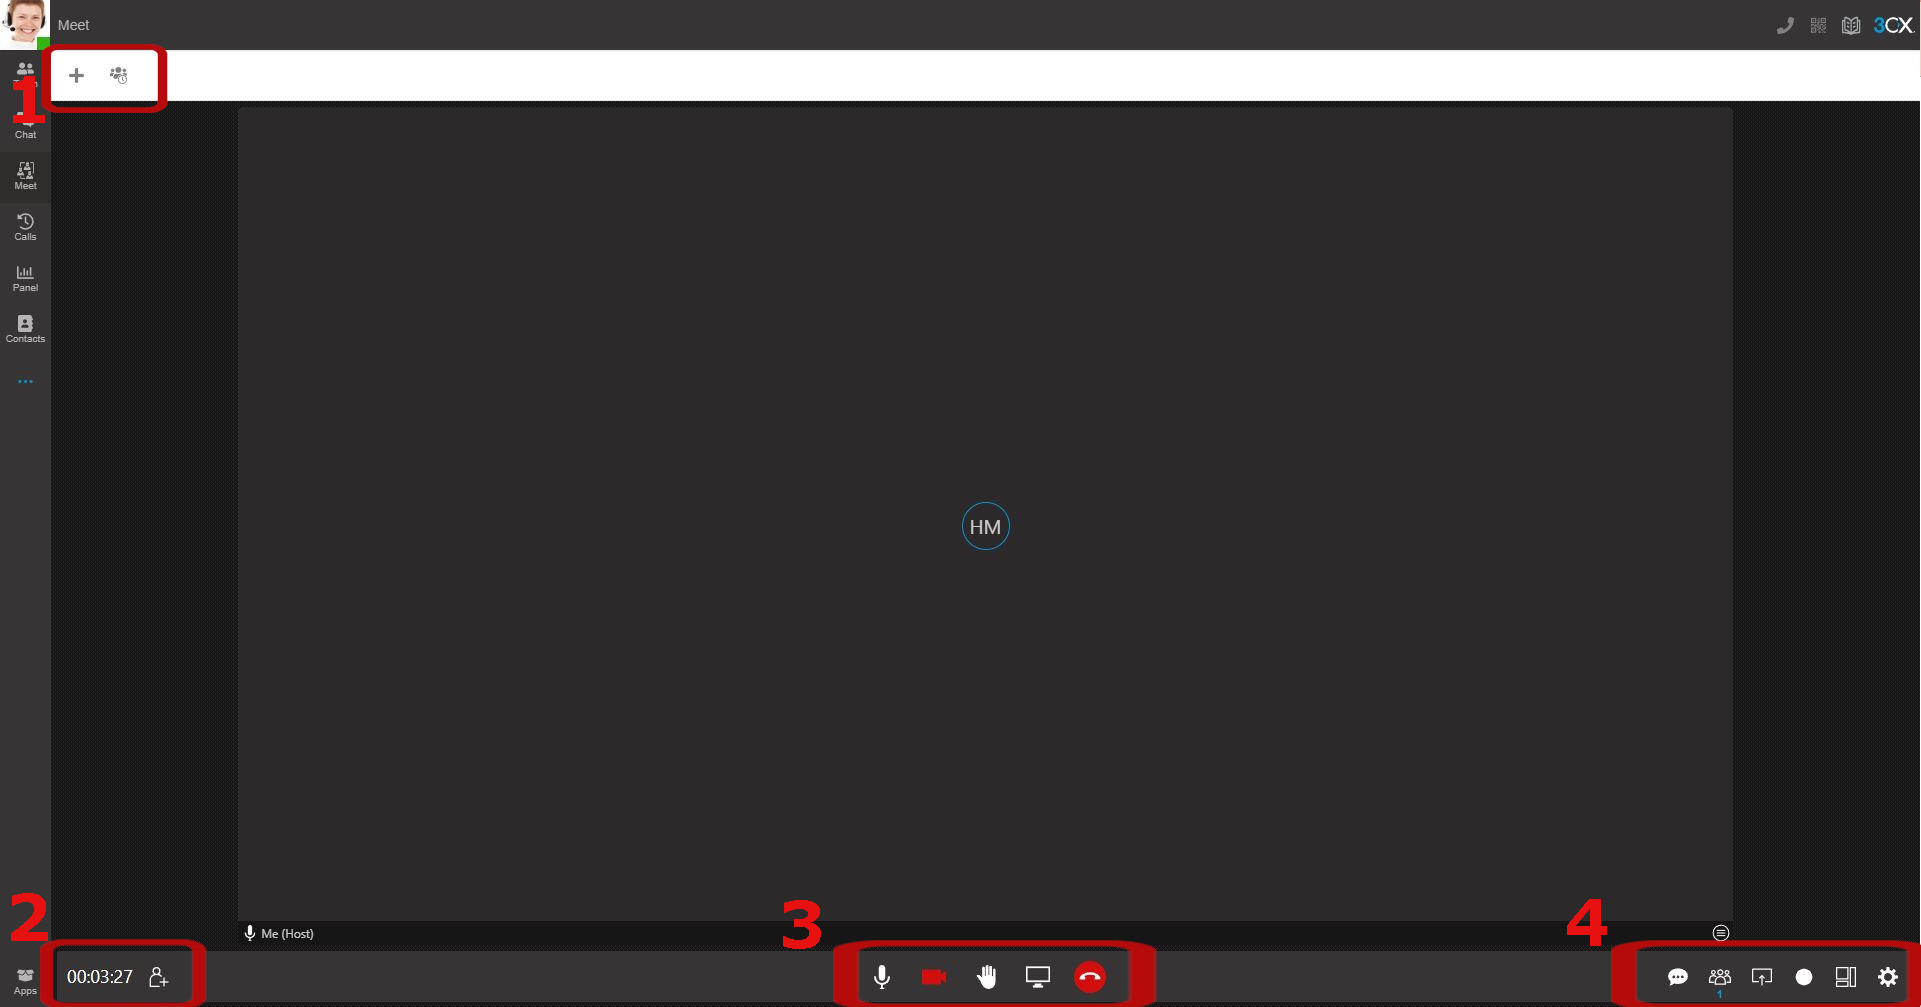
1. Create Meetings & View Scheduled Meetings
1.1. How to Create a Meeting While in a Meeting
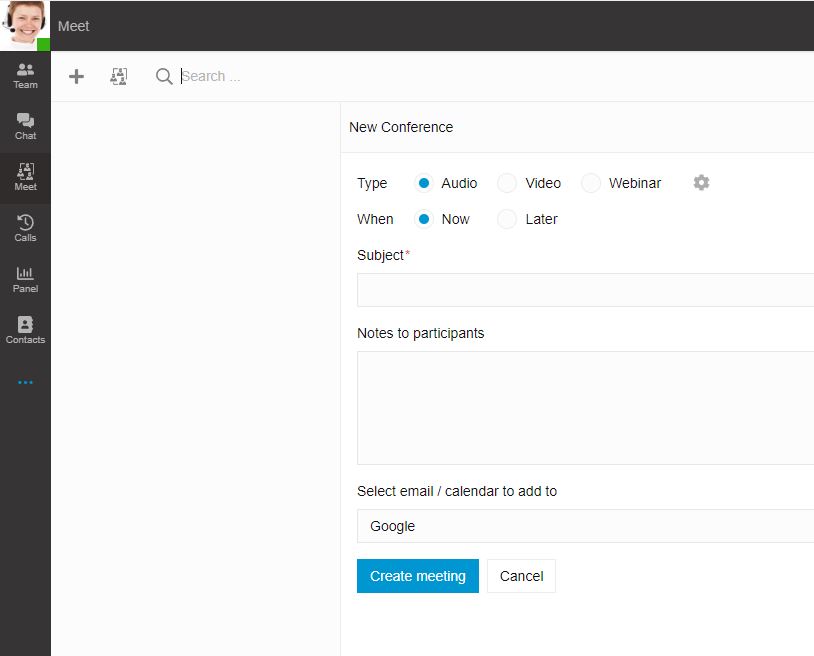
- Click the + button to initiate the process of creating a new conference.
- Select the type of conference from the available options: Audio, Video, or Webinar. This will define the format and features available during the conference.
- Choose the start time of the conference. You will have the option to start the conference Now or schedule it for a later time.
- If you choose to schedule the conference for a later time, you will be prompted to select the date and time when the conference will start.
- Enter the Subject for the conference. This will be used as the title of the email/calendar invite.
- Add any necessary notes or additional information for the participants to see about the meeting. This could include the agenda, important instructions, or any other relevant details.
- Next, you will be asked to select how to send the meeting information to the participants. The available options may include: Google, Microsoft 365, Microsoft 365, Desktop Outlook, and Regular Email.
- Once you have selected the preferred method of sending the meeting information, click the Send or Create button to finalize the process. The invitations will be sent to the participants using the chosen method, and they will receive the necessary details to join the conference.
1.2. How to View Scheduled Conferences
1. Click on the Conference Symbol next the plus button to view all scheduled conferences
2. To return to your meeting, click the button that looks like the following:
2. View Meeting Length & Invite Participants to an Active Meeting
2.1. How to View Meeting Length
1. Locate the time of the active meeting in the bottom left-hand corner next to the Invite Participants button.
2.2. How to Invite Participants to an Active Meeting
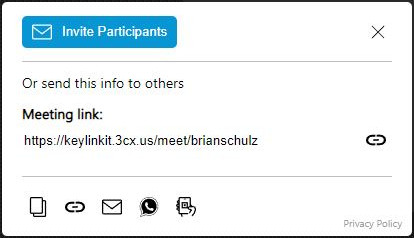
1. Click on the Invite Participants button to the right of the timer.
2. A pop-up will display allowing the user to Invite Participants via a link, email, QR code, and many others.
